

Embarking on your sourdough journey begins with the complete starter guide, a vital resource for any aspiring baker.
Understanding the intricacies of a sourdough starter is essential for baking successful sourdough bread. As you read on, you’ll learn the key components of nurturing and using a sourdough starter.
This guide will be your companion in unlocking the secrets of this age-old baking tradition.
Frozen Sourdough Pizza Dough: An Ally for Quick Dinners.
Table of Content
Creating Your Sourdough Starter
The first step in the complete starter guide is creating your sourdough starter. This is a simple yet crucial process.
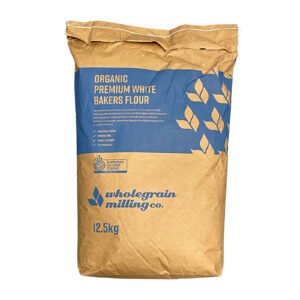
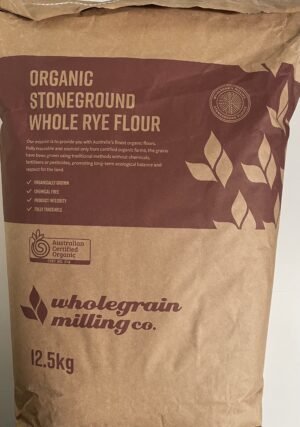
Begin by mixing equal parts flour and water in a jar or container. Whole grain flours like rye or whole wheat are great for initiating the process as they contain more nutrients and wild yeasts.
Stir the mixture thoroughly to incorporate air and cover loosely with a cloth or lid. Store it in a warm spot and feed it daily with equal parts flour and water. Within a few days, you should notice bubbles and a tangy aroma, signs that your starter is active and ready for baking.
Feeding and Maintaining Your Starter
Feeding and maintaining your starter is an ongoing process and a key part of the complete starter guide.
A healthy starter is the backbone of good sourdough bread. Feed your starter at least once a day if it’s kept at room temperature, or once a week if refrigerated. When feeding, discard a portion of the starter before adding fresh flour and water.
This not only helps control the quantity but also ensures a strong and active starter. The consistency of your starter should be similar to a thick batter; adjust the flour and water as needed.
Using Your Starter in Recipes
Once your starter is bubbly and active, it’s time to use it in recipes, an exciting part of the complete starter guide. To bake bread, use a portion of your starter to create a ‘levain’ or pre-ferment.
This step is often done a day ahead of your baking. Remember, the strength of your starter will influence the rise and flavor of your bread. It’s not just about using the starter; it’s about understanding its characteristics at various stages of fermentation.
Experiment with different hydration levels, flours, and fermentation times to see how they affect your final bake.
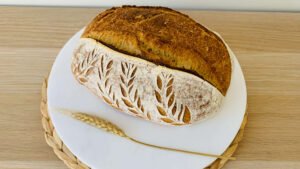
The complete starter guide is your roadmap to mastering the art of sourdough baking. From creating and maintaining your starter to incorporating it into recipes, each step is a learning experience.
Embrace the process, and don’t be discouraged by setbacks. With patience and practice, you’ll be rewarded with delicious, homemade sourdough bread that’s a testament to your skill and dedication.